|
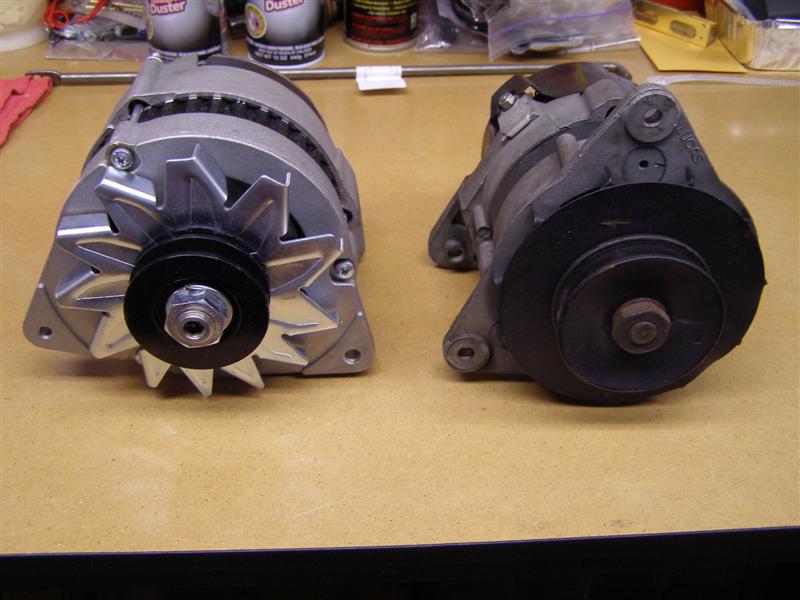
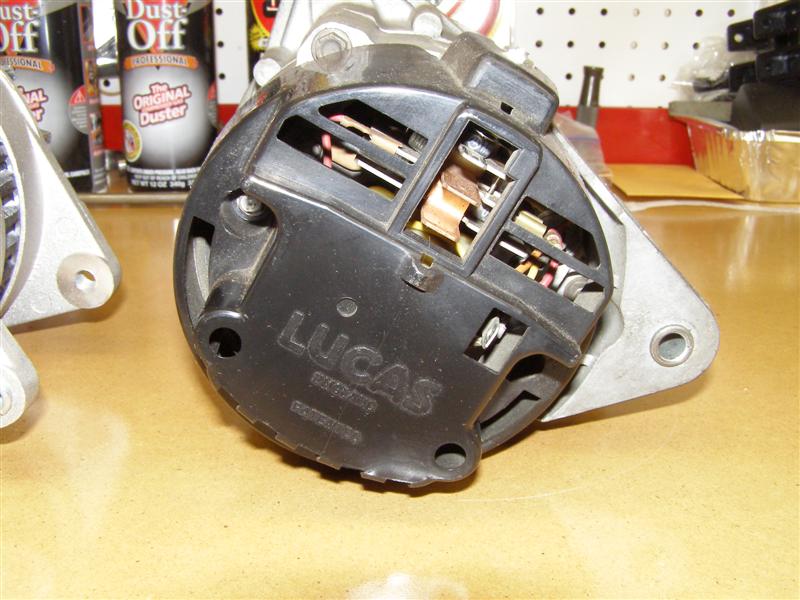
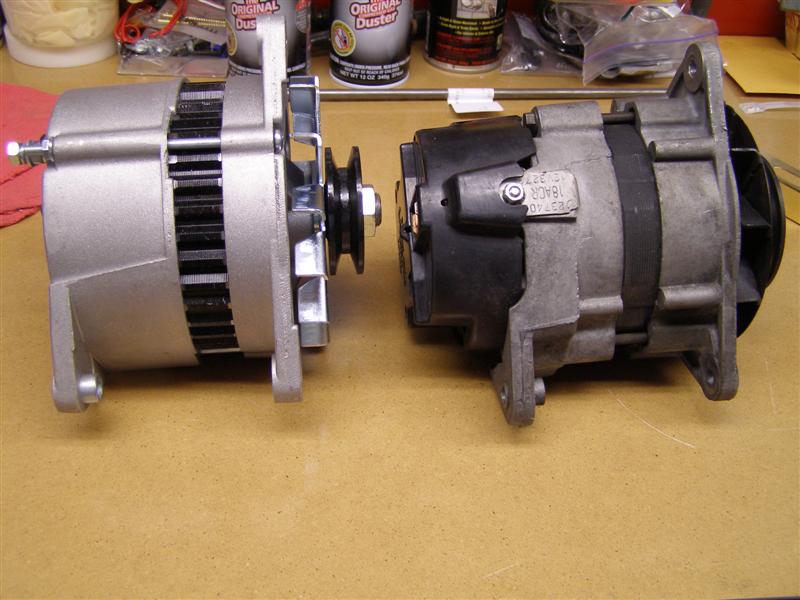
This is the new and the original alternator.
This is the
rear view and as you can see, the three (3) wire connector will
be the same.
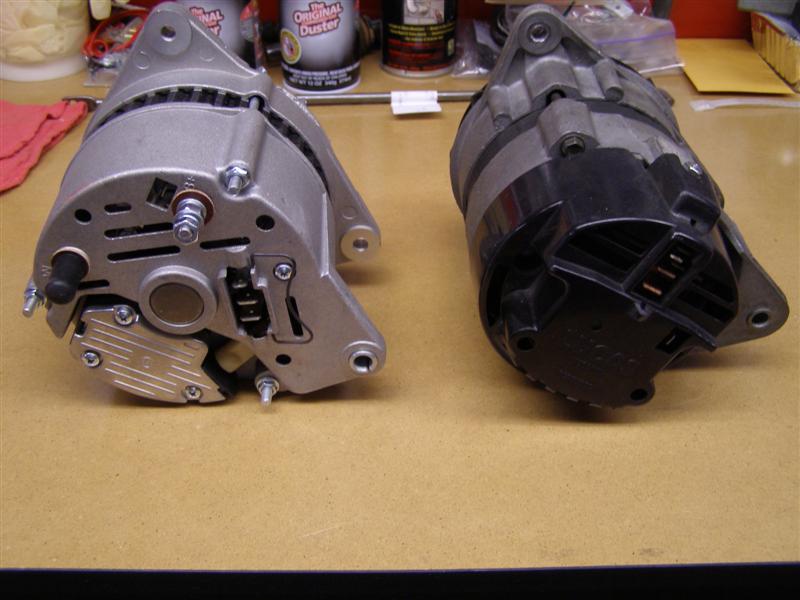
The
connector plug
fits in exactly like the original Lucas unit.
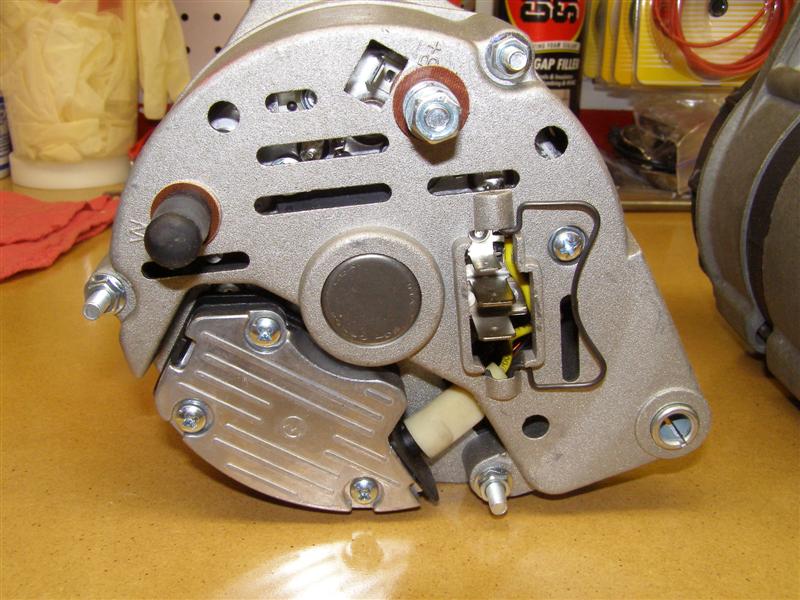
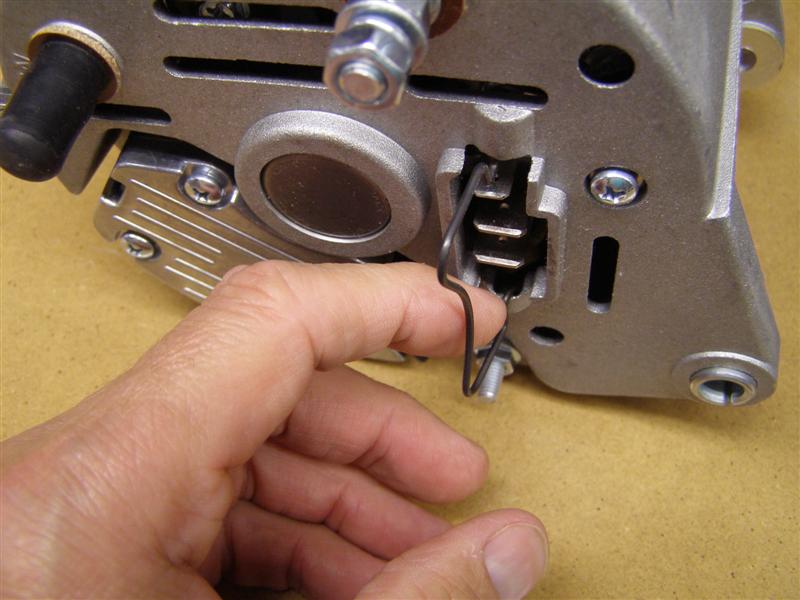
The
mounting position and adjustment are the same.
This little
retainer is a great idea and it does fit perfectly over my
stock plastic connector. This alternator
apparently fits a few models, because I don't think that this
was a Triumph clip, even on a Spitfire.
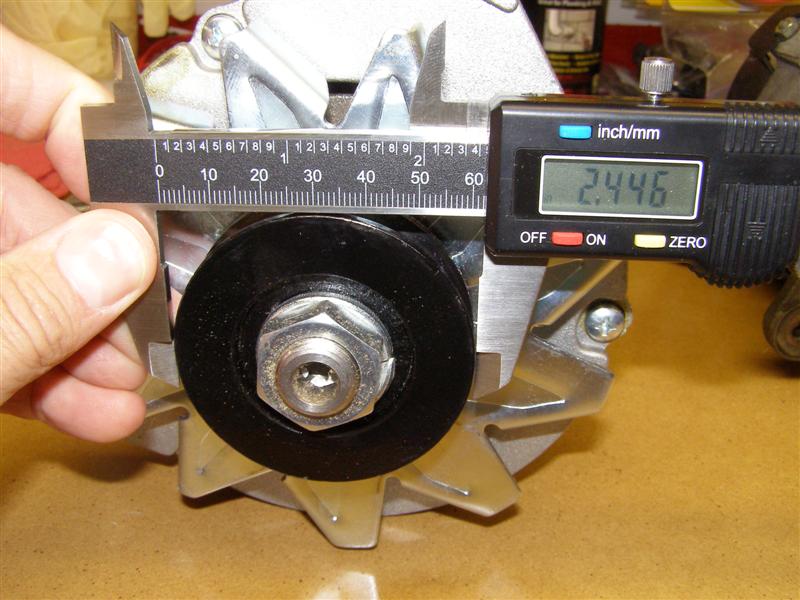
The pulley that comes with
this look a bit too small, so I measured both for comparison.
This part is close enough.
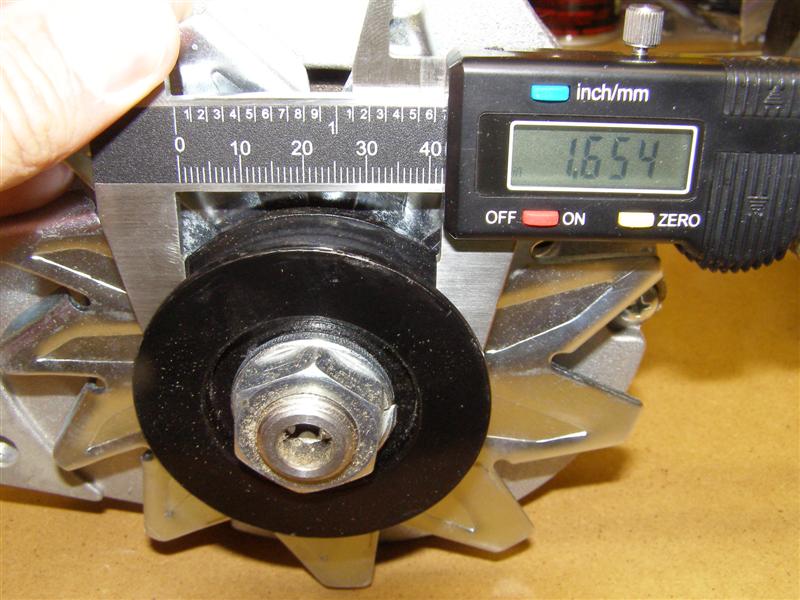
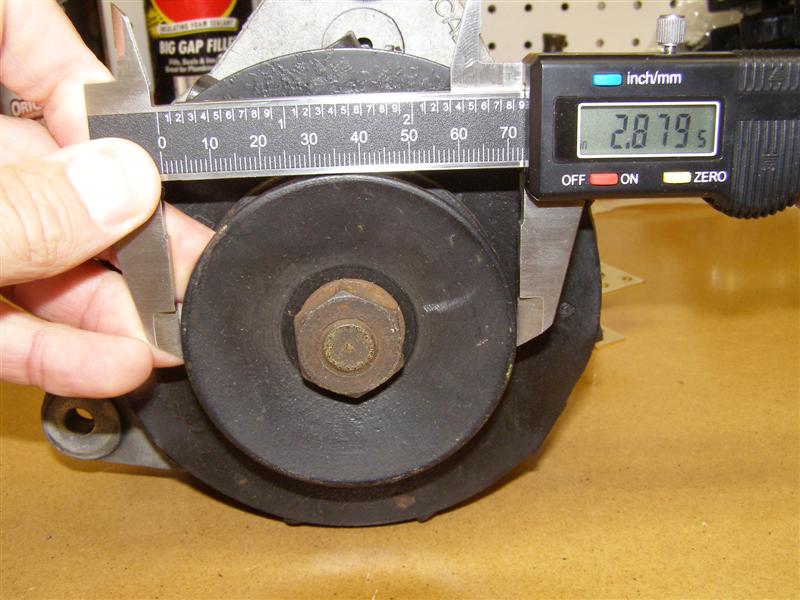
Even this isn't too awful
bad....
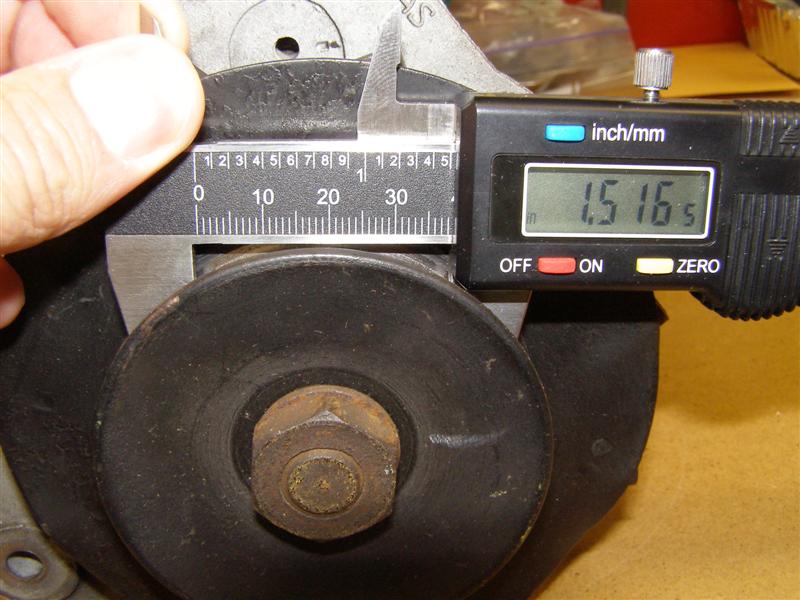
When compared to this.
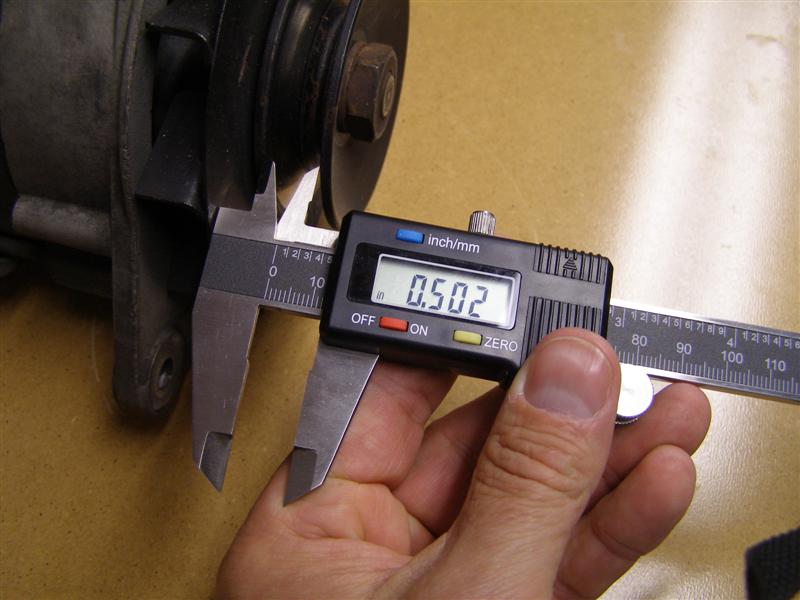
This is a bad picture by
yours truly. The width at this point is .380" or 3/8".
It doesn't take a rocket
scientist to see that the original 1/2" wide belt is going to
have a problem fitting in the groove above.
Just a side view while some
answers come in.
GregL from the 6-Pack Forum
saves the day with this fan/pulley kit from Mr. Gasket (Summit
Racing is where I got mine)
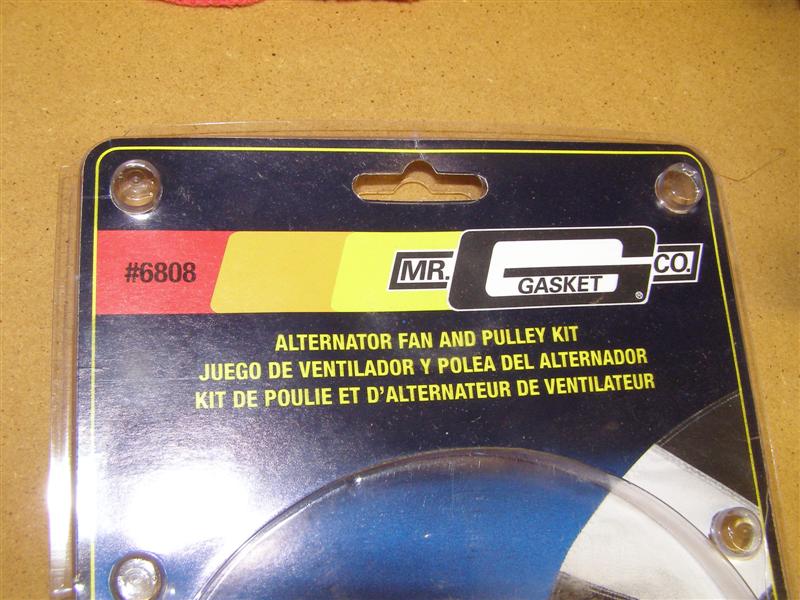
This shows what comes in the
kit.
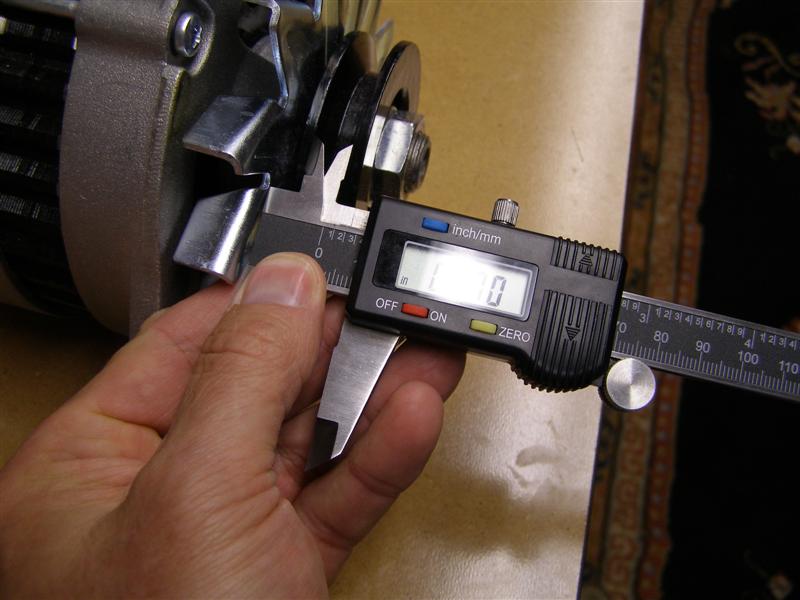
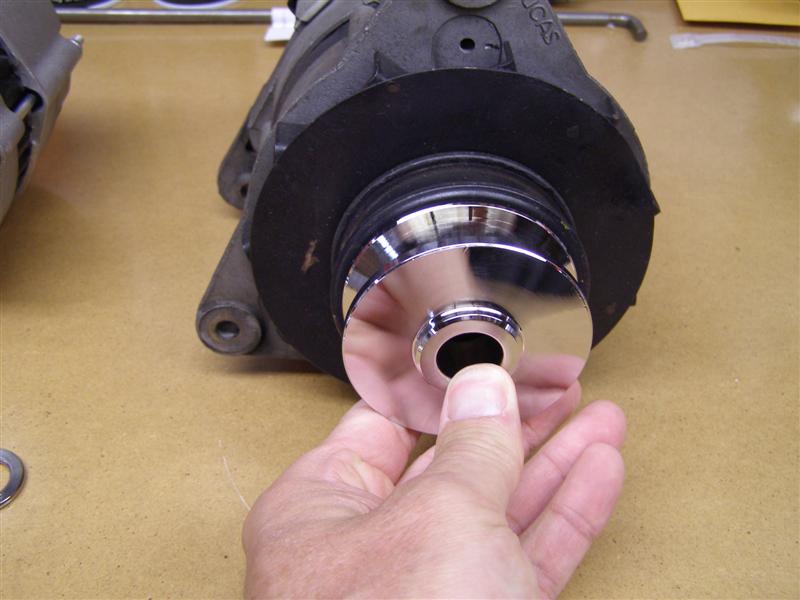
Now we're back to 1/2" width
for the proper belt.
The new pulley is slightly
bigger in diameter, but remember that we were only off by .400".

This shows the difference in
the width a bit more clearly.
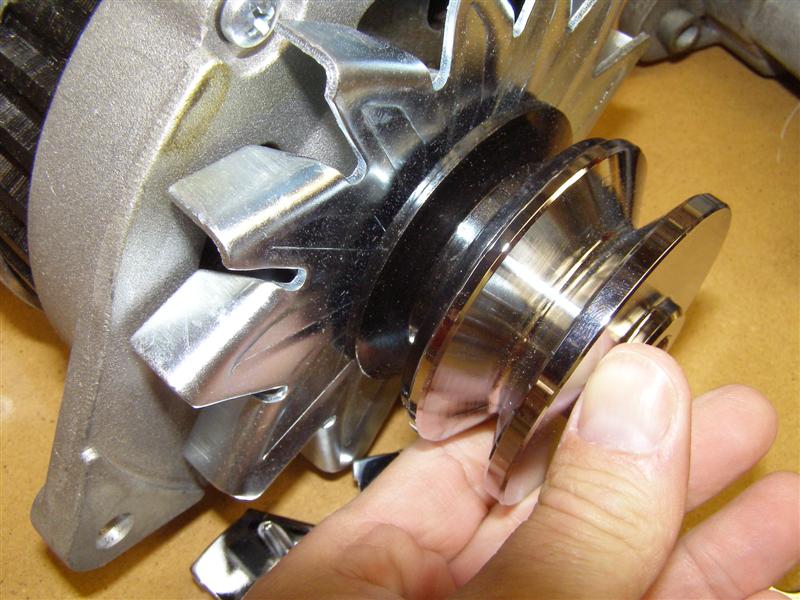
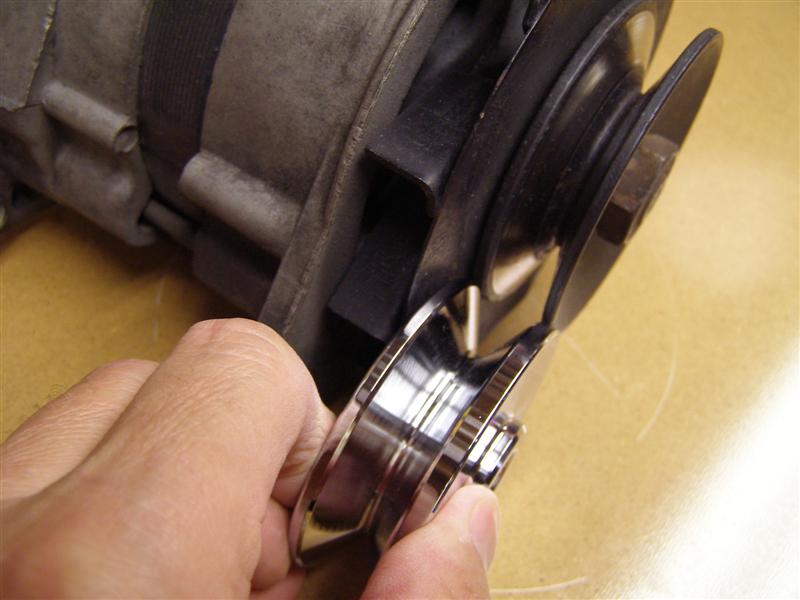
And the diameter is nearly
the same. By the way, the pulley goes on with this side
facing against the fan.
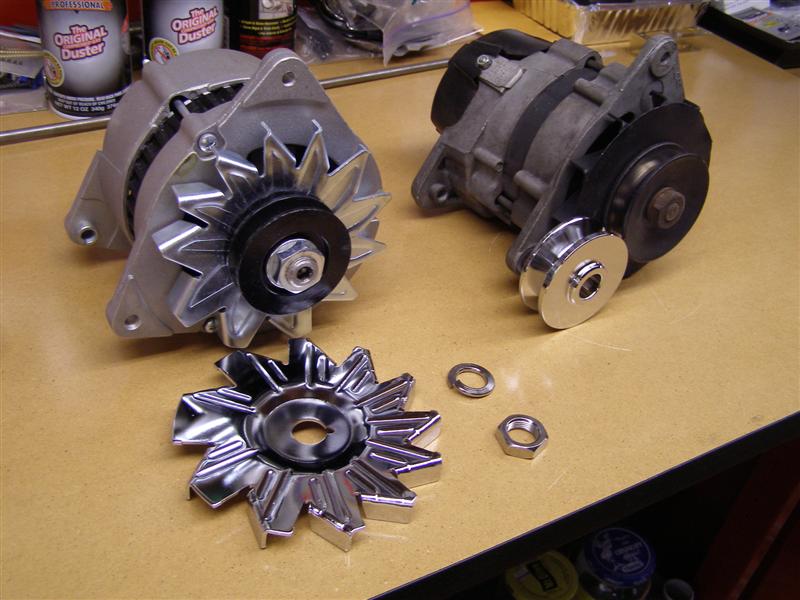
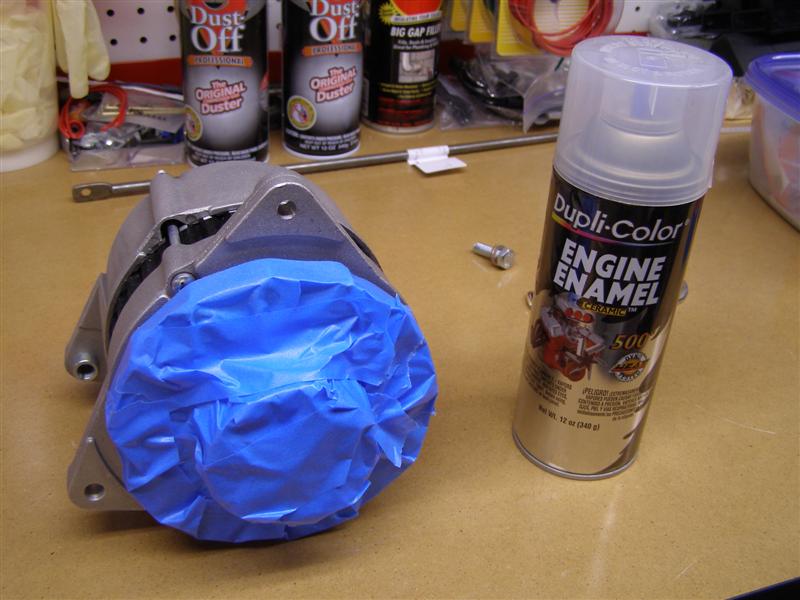
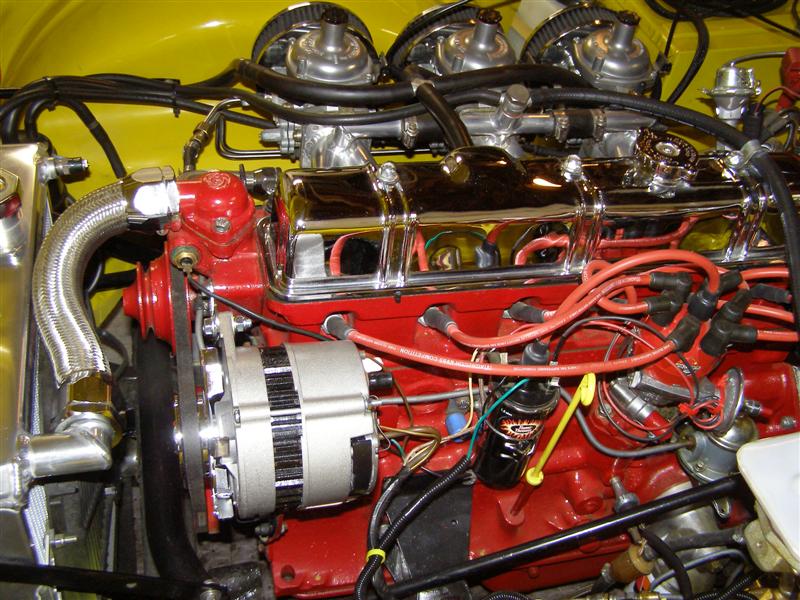
The new fan and pulley are
on, but the chrome is covered so I can apply a few coats of high
heat clear to keep it nice and clean.
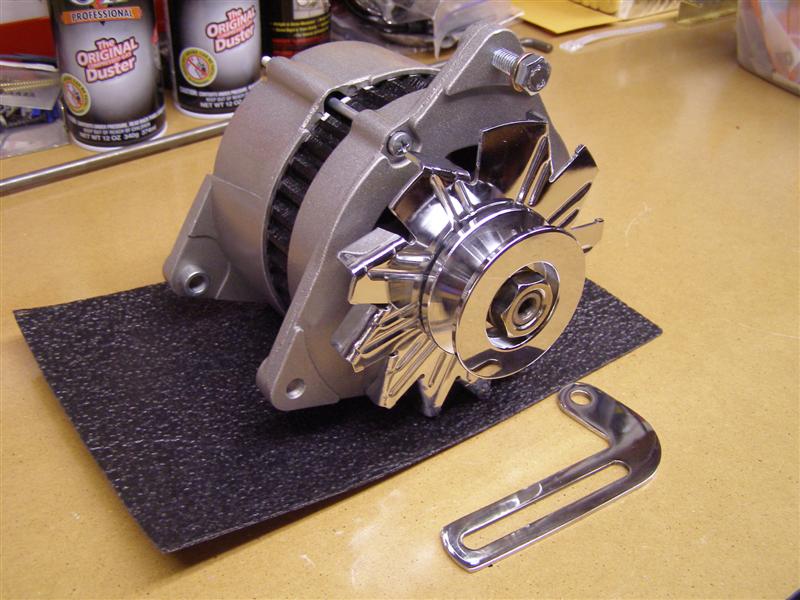
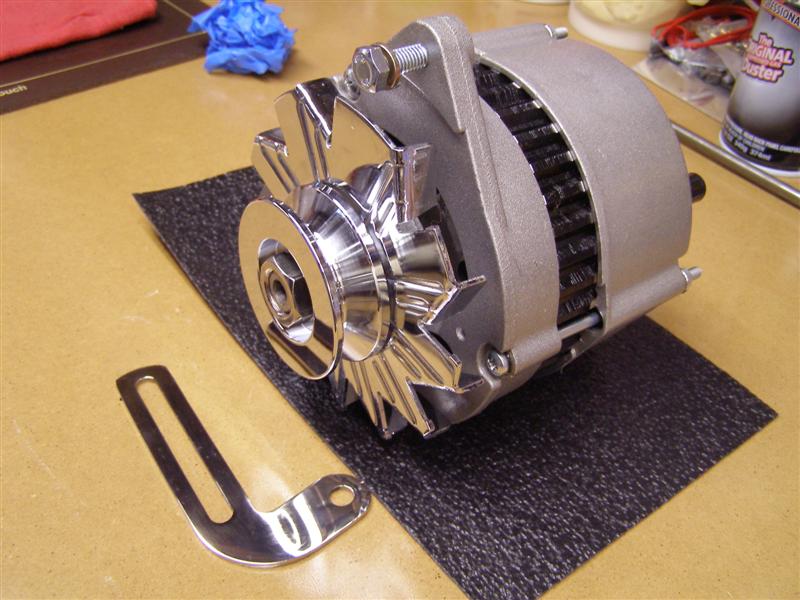
There it is. Already to
go, along with my new polished stainless adjustment bracket.
More bling to add up front.
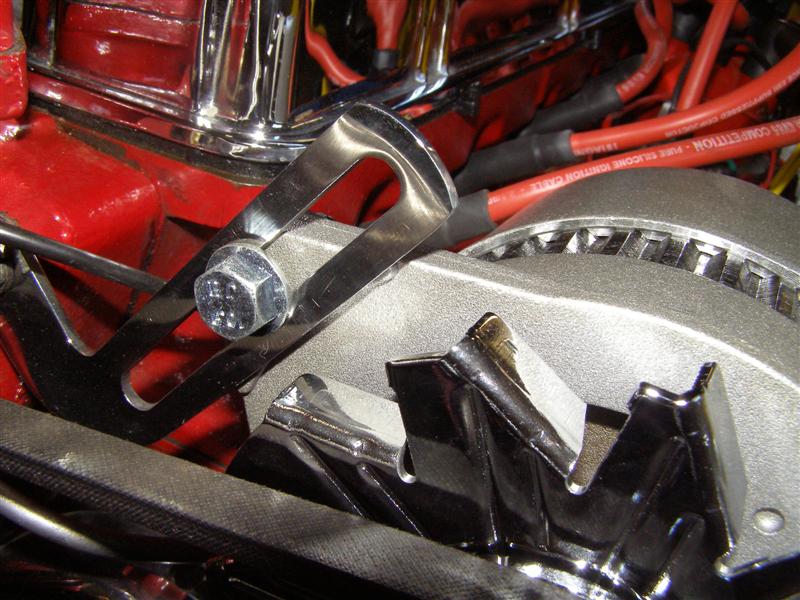
The bolt used here is an 8mm
1.25. It is NOT 5/16" coarse thread as I had thought.
I did get a different
bolt for this, which is a Flanged bolt. It has a wider
bottom to the bolt head and won't gouge up the new bracket.
This is sitting on the bench
for the next few days waiting for the clear paint to harden
before I install it.
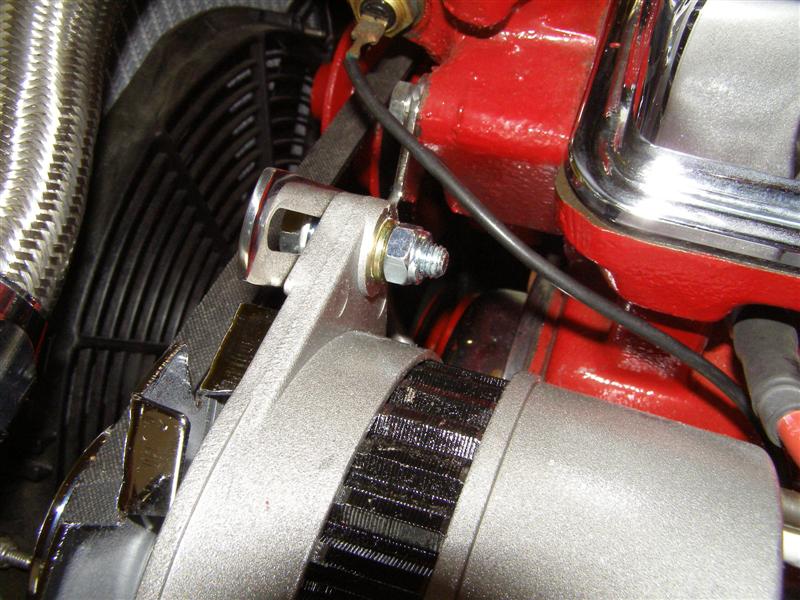
This is the flanged bolt head
after installation. It needs no washers.
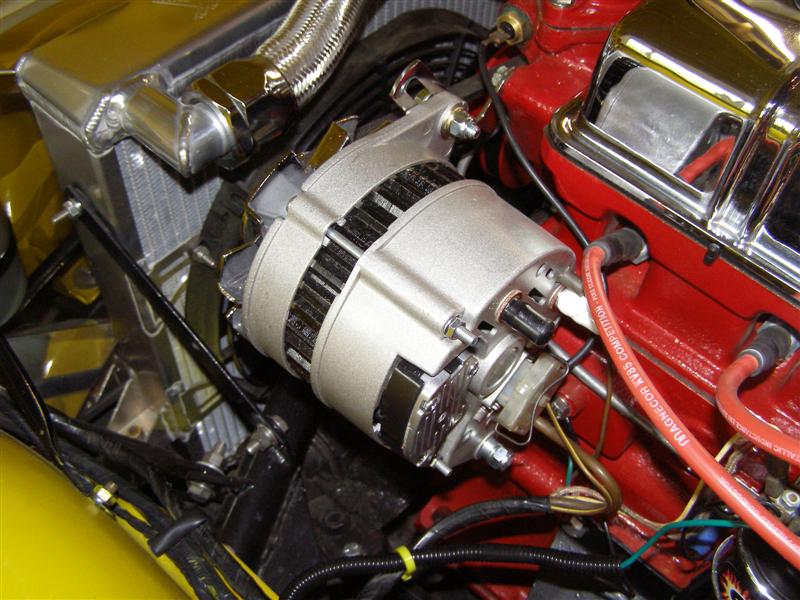
I had a few minutes after
lunch today, so on it went.
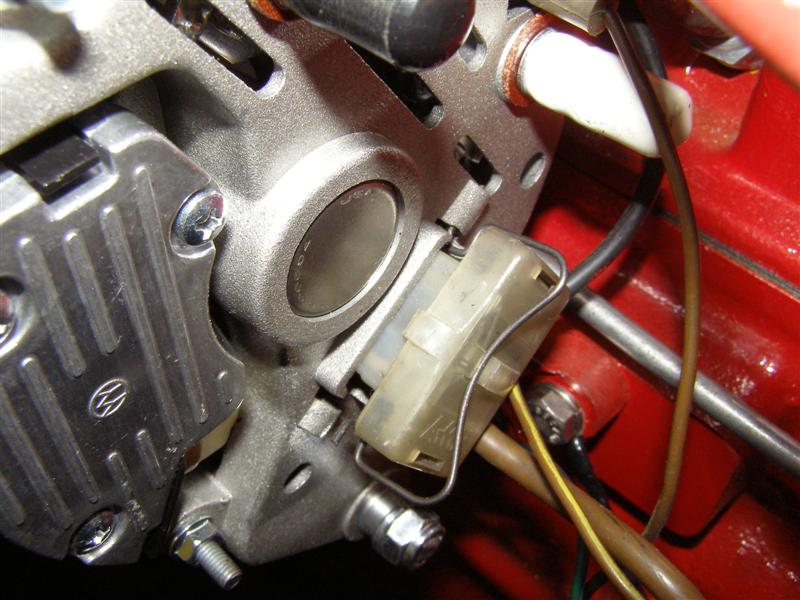
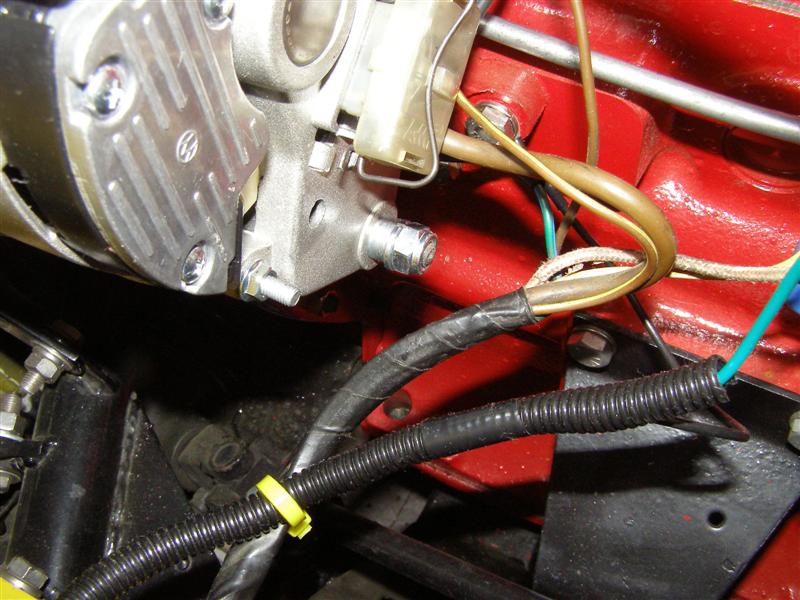
The little clip over on the
back snaps in place nicely to secure the harness connector in
place.
The black rubber boot came
with it and I added the white to protect what is probably a
"hot" terminal.
This is the flanged bolt that
I used in place of a bolt and washer. Old GM ways are
still in me I suppose.
I added a nyloc nut & lock
washer to the
back, even though the alternator housing is threaded. Just
like wearing a belt and suspenders.
This is a new nyloc nut and lock
washer as well.
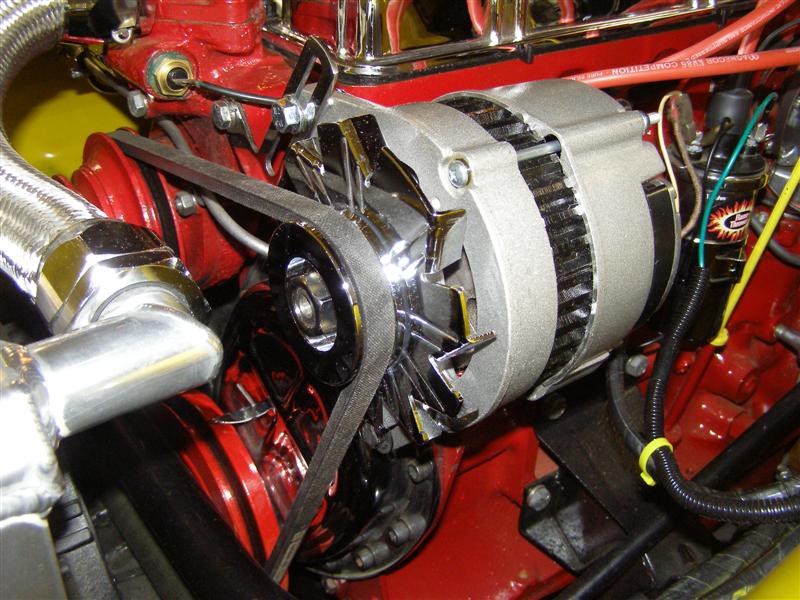
All done and it looks at
home. The chrome pulley and fan go together with the
polished stainless bracket,
which is much heavier and stronger than the factory bracket.
That's not a bad thing, but it is one more thing to polish.
This will
definitely make a difference
with the TRF Halogen PL700
headlamps and the new seat heaters.
Fast
forward to 2014 and I have finally installed a second 8 gauge
wire from the B (+) Terminal on the
back of the alternator. This is to help carry the load to
the starter and battery, should the battery go completely dead.
The
original stock 10 gauge wire will probably not last long under a
full output of this alternator with a dead battery.
.JPG)
This is
another look at it from the rear.
.JPG)
Additionally, this is a belt that works well and will clear the
steering rack and cross support very easily.
%20(2).JPG)
With the
numbers showing.
.JPG)
That's it
for now and my buddy Lou from 6-Pack can stop reminding me to do
this little addition.
|
