|
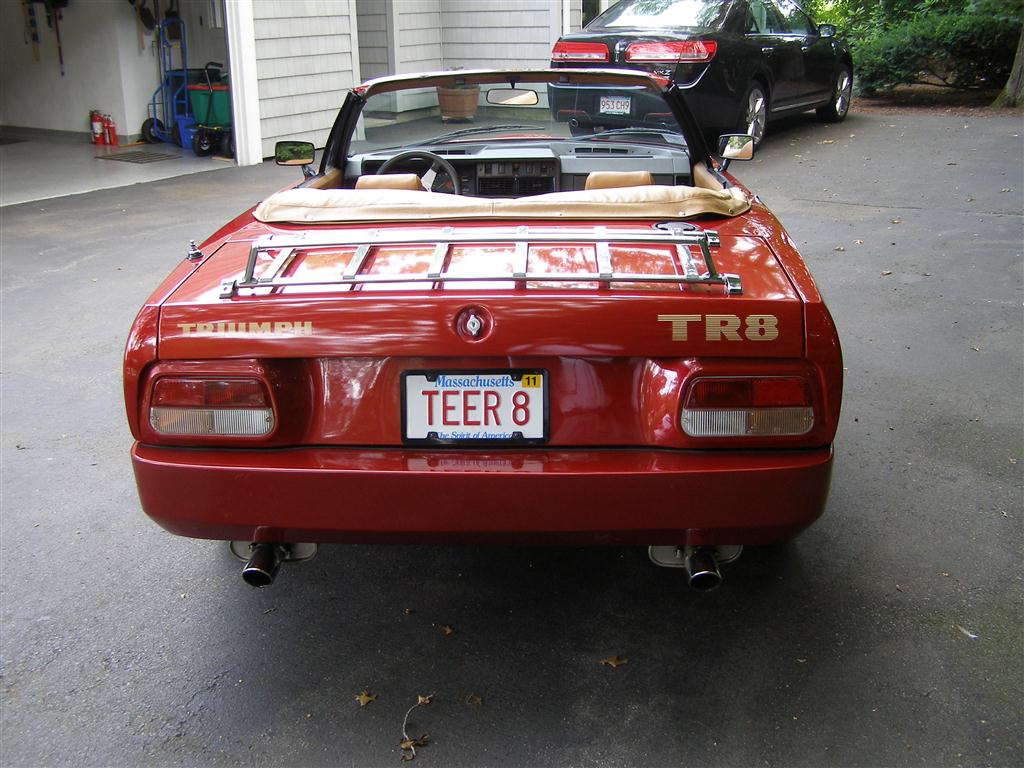
As any purist will readily see, this is not a stock TR8 any more.
I hated the rubber bumpers on this car even more than on the
TR6.
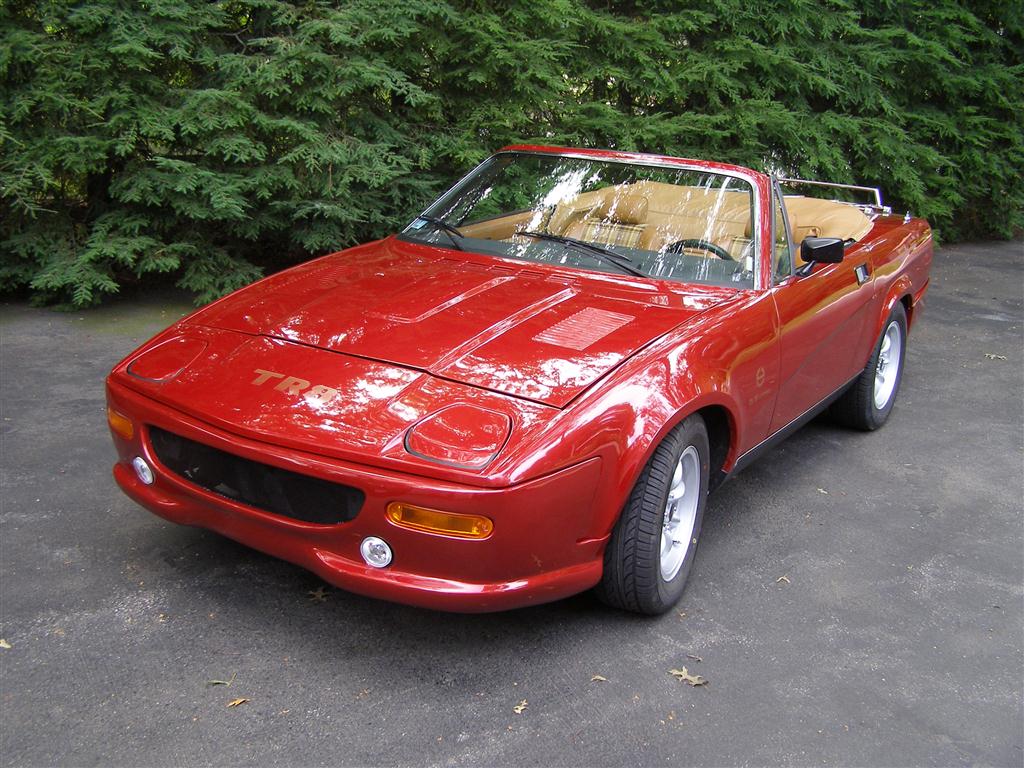
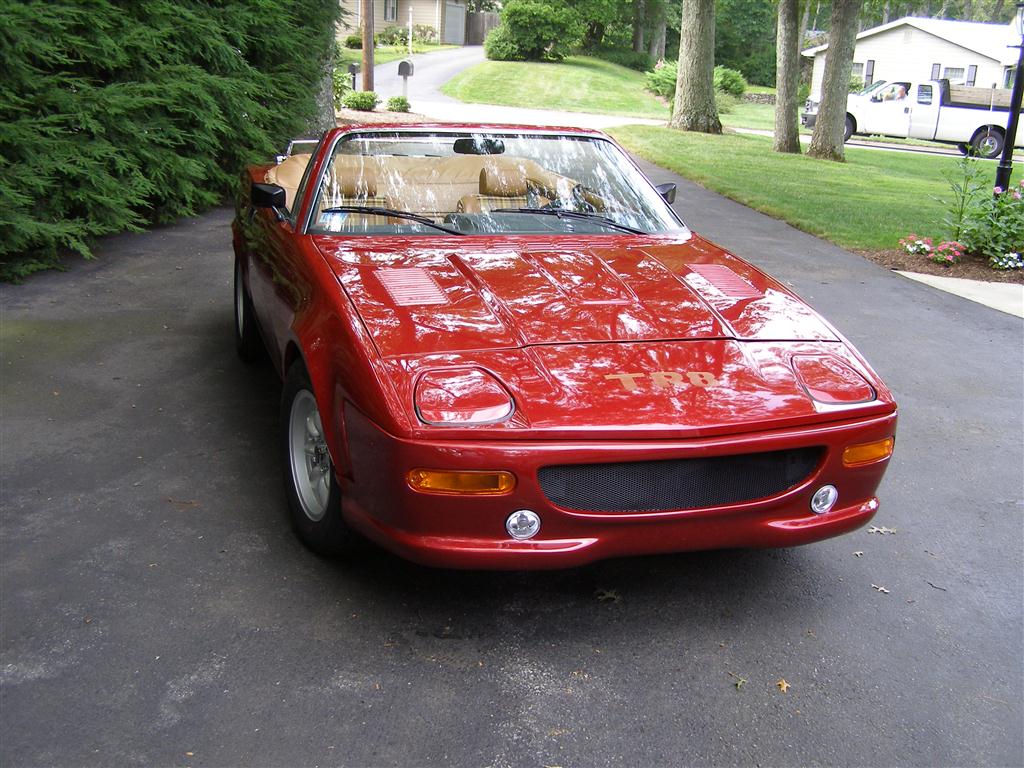
The front
and rear bumpers have been replaced with custom fiberglass units
by MorSpeed Performance in western PA.
They
specialize in fiberglass special affects for MGB's and several
other lines.
Alan at A&E
Auto in Pawtucket, RI handled all of the custom body fitting and perfectly match the Lava
Red Pearl paint.
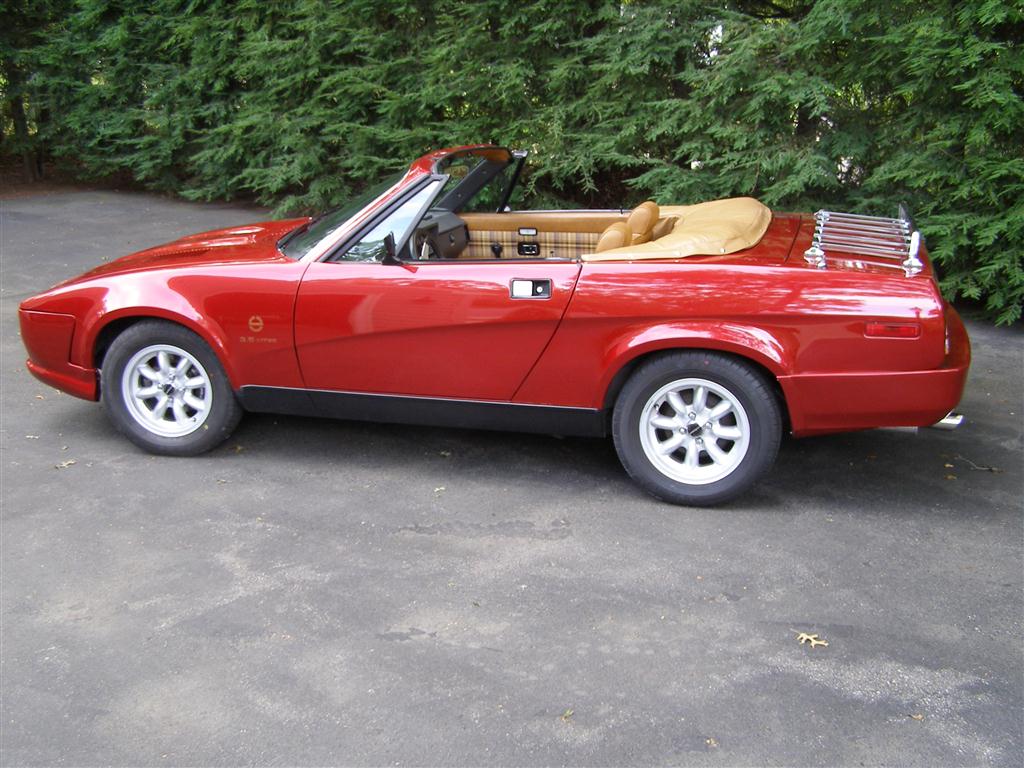
These are
14" Panasport wheels which replaced the 13" stock units.
Along with the big brake kit on the front end,
it handles and stops quite well. There is a full matching
spare in the trunk. The stock seats are gone too, as you
shall soon see.
In fact the
entire plaid interior is gone as well.
I am the
third owner and the previous owner had installed the headers and
the custom exhaust system.
A nice
sedate street rumble and lots of sound at wide open throttle.
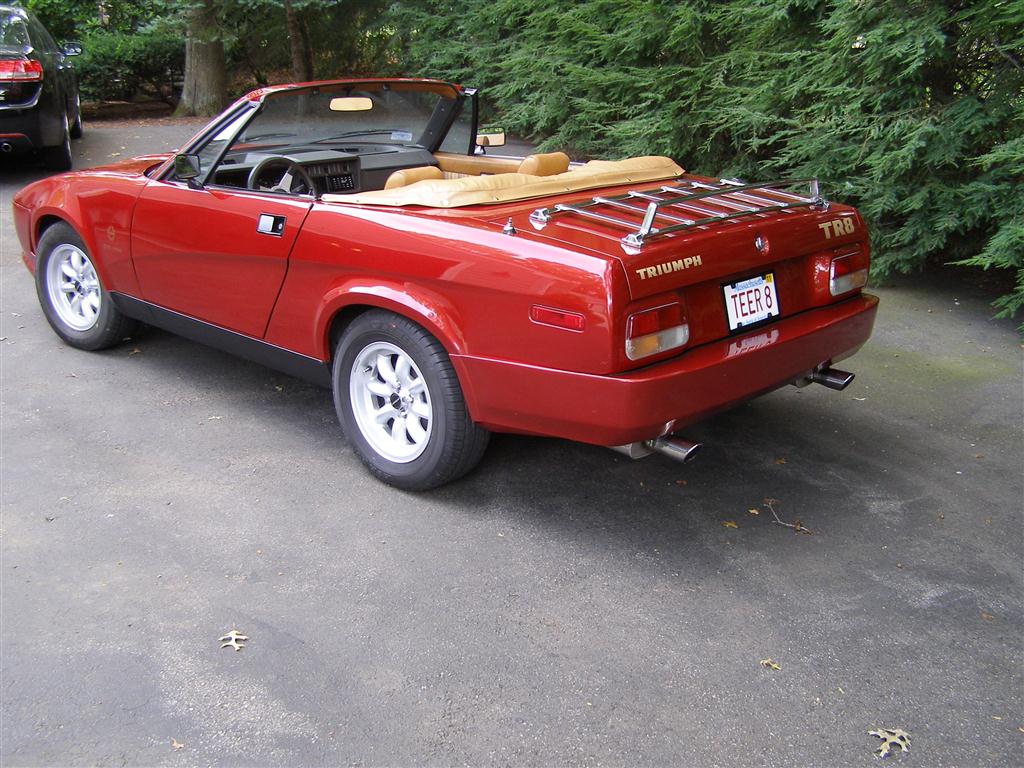
These cars
have a much bigger trunk than the TR6, but I still like the
luggage rack.
Just like the TR6, this car
now has Miata seats. These covers were custom made in
Florida at Mr. Mike's who specializes
in custom Miata and Fiero seat covers in just about any kind of
material and trimming options.
A fellow TR8 owner, Darrell
Walker used his fabrication talents to come up with a great set
of seat brackets for his car and mine.
.JPG)
The stereo is wired through
these speakers in the seats, which are upgraded Millennium
speakers from up here in Mass.
.JPG)
Much wider that our TR6's and
with factory A/C too. I have it disconnected, but it
works.
The five speed is also great
for highway cruising. It is truly sad that Triumph folded
and never got to develop these cars further.
.JPG)
The engine that came with it
sadly had some internal issues about 1,200 miles into my
ownership, so this is a newly built 3.9 litre
custom built for me by Woody at the Wedge Shop in Taunton, MA.
It puts out over 185HP and 188 ft lbs of torque at the rear wheels
with a greatpower and torque band, which is just what I wanted for good
street driving and plenty of power if I want to play with it.
.JPG)
A nice big Holley 4bbl that
was jetted and tuned on the dyno at New England Dyno after the
engine was broken in, along
with an electronic ignition and numerous goodies hidden inside,
including a really nice cam grind specified by Woody.
.JPG)
You can see the new aluminum
radiator and the big electric fan to cool it. What you
can't see is the 95 amp alternator,
which happens to be the same one as on my TR6. Just a
different wiring hook up.
That's about it for now until
the spring of 2014. Probably a few more things to do then.
|
